Native eCommerce
Checkout Page in Native Store
Checkout Page in Native Store
The checkout page can be easily customized to allow the merchant to collect relevant details from shoppers. The store comes with default customization options and the ability to add your own custom fields.
Configure Default Customizations for Checkout Page
By default, the store offers a set of common customization options for the checkout page.
Following are the default customization options:
-
Option to enter shopper’s first and last name all in one field or separately in two fields.
-
Option to enter shopper’s street name and number in one field or separately in two fields. Note that some countries require the street name and number to be in separate fields and this might be enabled automatically for your store.
-
Require a phone number for the order. Note this is required by some countries and might be enabled automatically for your store.
-
Delivery instructions field.
-
Promotional opt-in checkbox for promotional emails sent from the store to shoppers.
-
Terms and Conditions checkbox for store policies.
To configure default customizations for the checkout page:
-
In the side panel, click Store, then click Store Management.
-
Click Payments, then expand the Settings section and click Checkout.
-
Configure the following settings:
-
Customer’s first and last name. Use the radio buttons to select whether you want to use one field for both or separate fields. This appears in the Shipping section of the checkout page.
-
Customer’s street name and number. Use the radio buttons to select whether you want to use one field for both or separate fields. Check your local requirements; some countries require two address fields by default. If this is the case, your country’s requirements will override the selection you make here. This appears in the Shipping section of the checkout page.
-
Additional information. These fields appear in the Shipping section of the checkout page.
-
Phone number. Select the checkbox if you want to require the shopper to enter their phone number. This field will be enabled by default if you have easyship enabled or if your country requires it.
-
Delivery instructions. This is an optional field for shoppers where they can add delivery instructions.
-
-
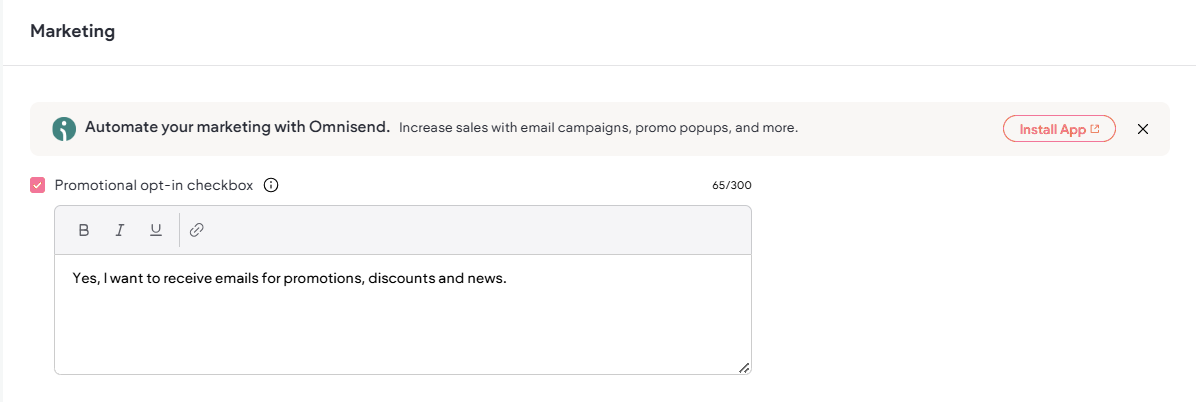
Marketing. Check the Promotional opt-in checkbox and use the text field to add a message or a link (if applicable). This box is unchecked by default and if the shopper checks the box during checkout, it means they have agreed to receive promotional emails. This appears in the Contact Information section of the checkout page. Optionally, you can export the orders CSV file to extract customer emails who opted into promotional emails.
-
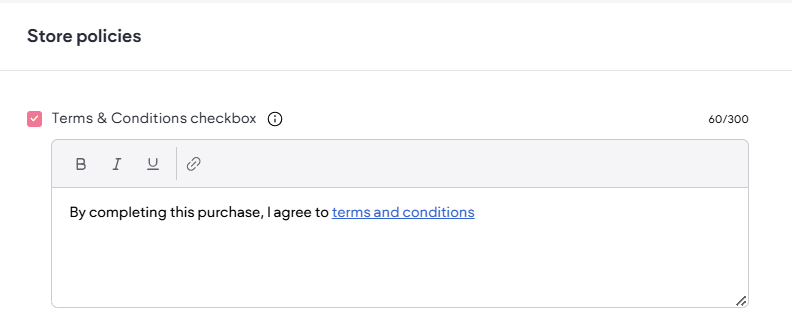
Store policies. Check the Terms and Conditions checkbox and use the text field to add a message including a link to your terms and conditions page. This appears at checkout and is mandatory for shoppers to select before they can complete their purchase. It is unchecked by default. This appears in the Payment section of the checkout page.
-
-
Click Save.
Custom Fields for Checkout Page
Caution
Express checkout methods, such as Apple Pay, cannot be used with custom checkout fields in the store.
Merchants can configure custom fields for the checkout page to collect additional information that is specific to their business needs, such as comments, specialty options, gift wrapping options, etc. Merchants can use several field types, set fields as required, and configure where the custom field(s) appear in the checkout flow.
To create a custom checkout field:
-
In the side panel, click Store, then click Store Management.
-
Click Payment.
-
Click Checkout in the side panel of the Site Dashboard screen.
-
Scroll down to the Custom fields section and click + Add Custom Field. Select from the following field types:
-
Short text. One line of text.
-
Long text. Paragraph of text.
-
Dropdown. List up to 5 options to select from.
-
Radio button. List up to 5 options to select from.
-
Checkbox. Best for yes or no questions.
-
Date picker. Depending on the field's configuration, shoppers can enter a date or a date and time.
-
-
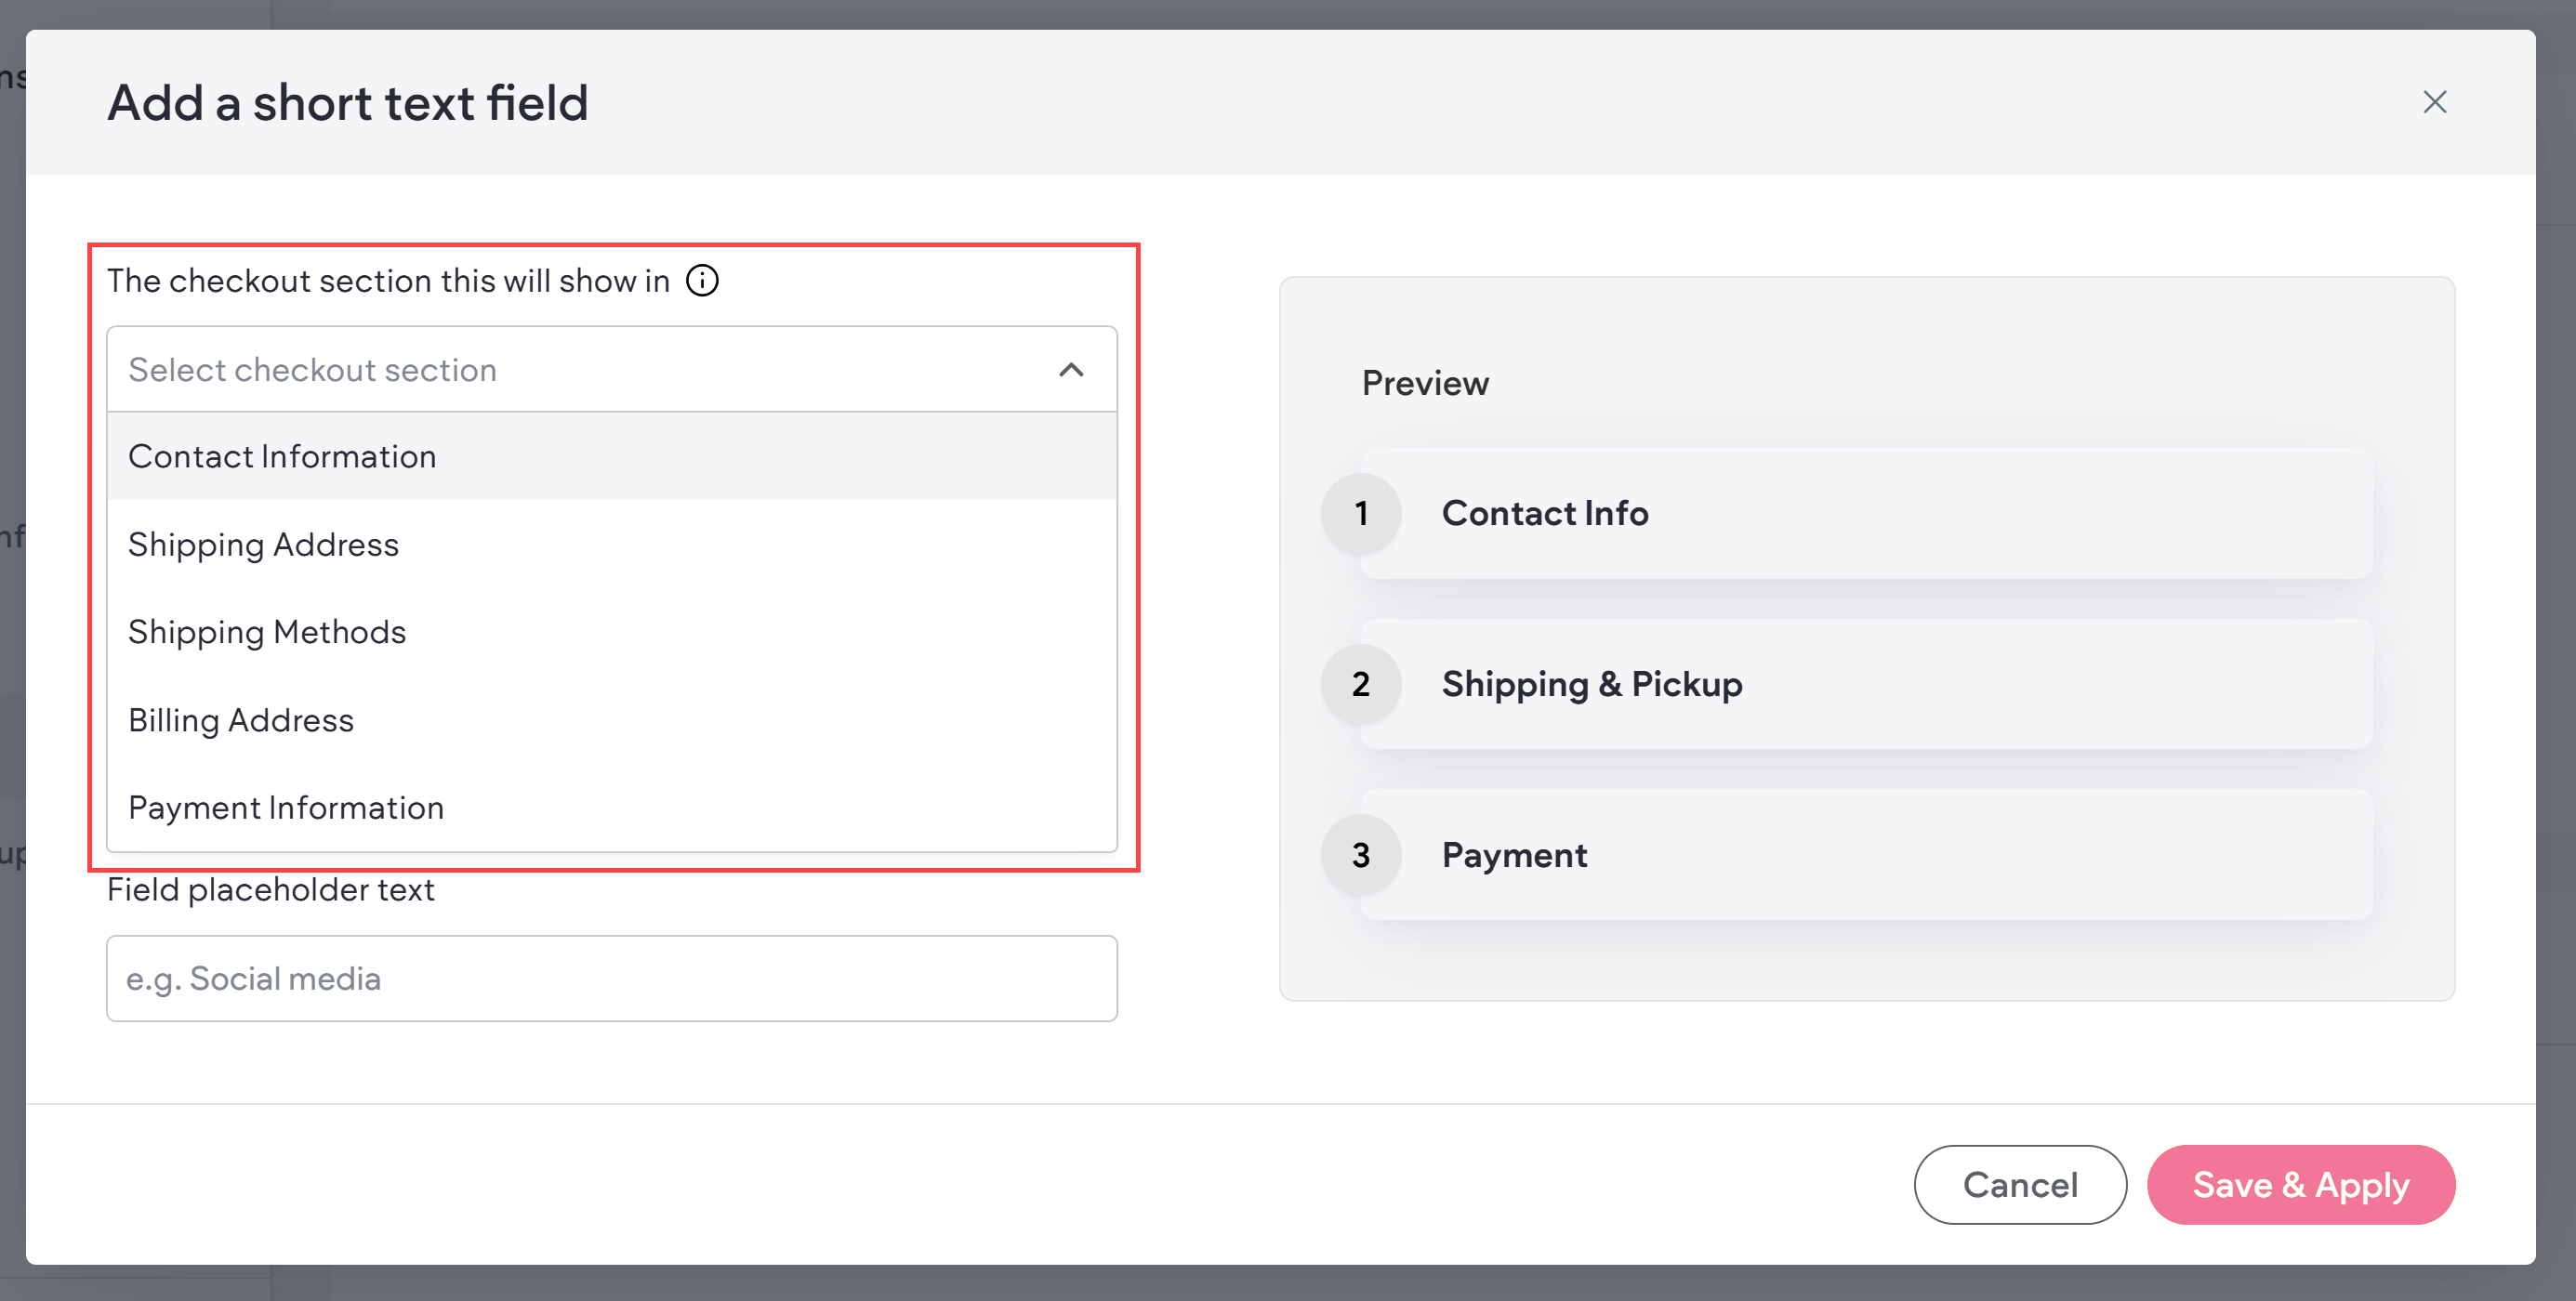
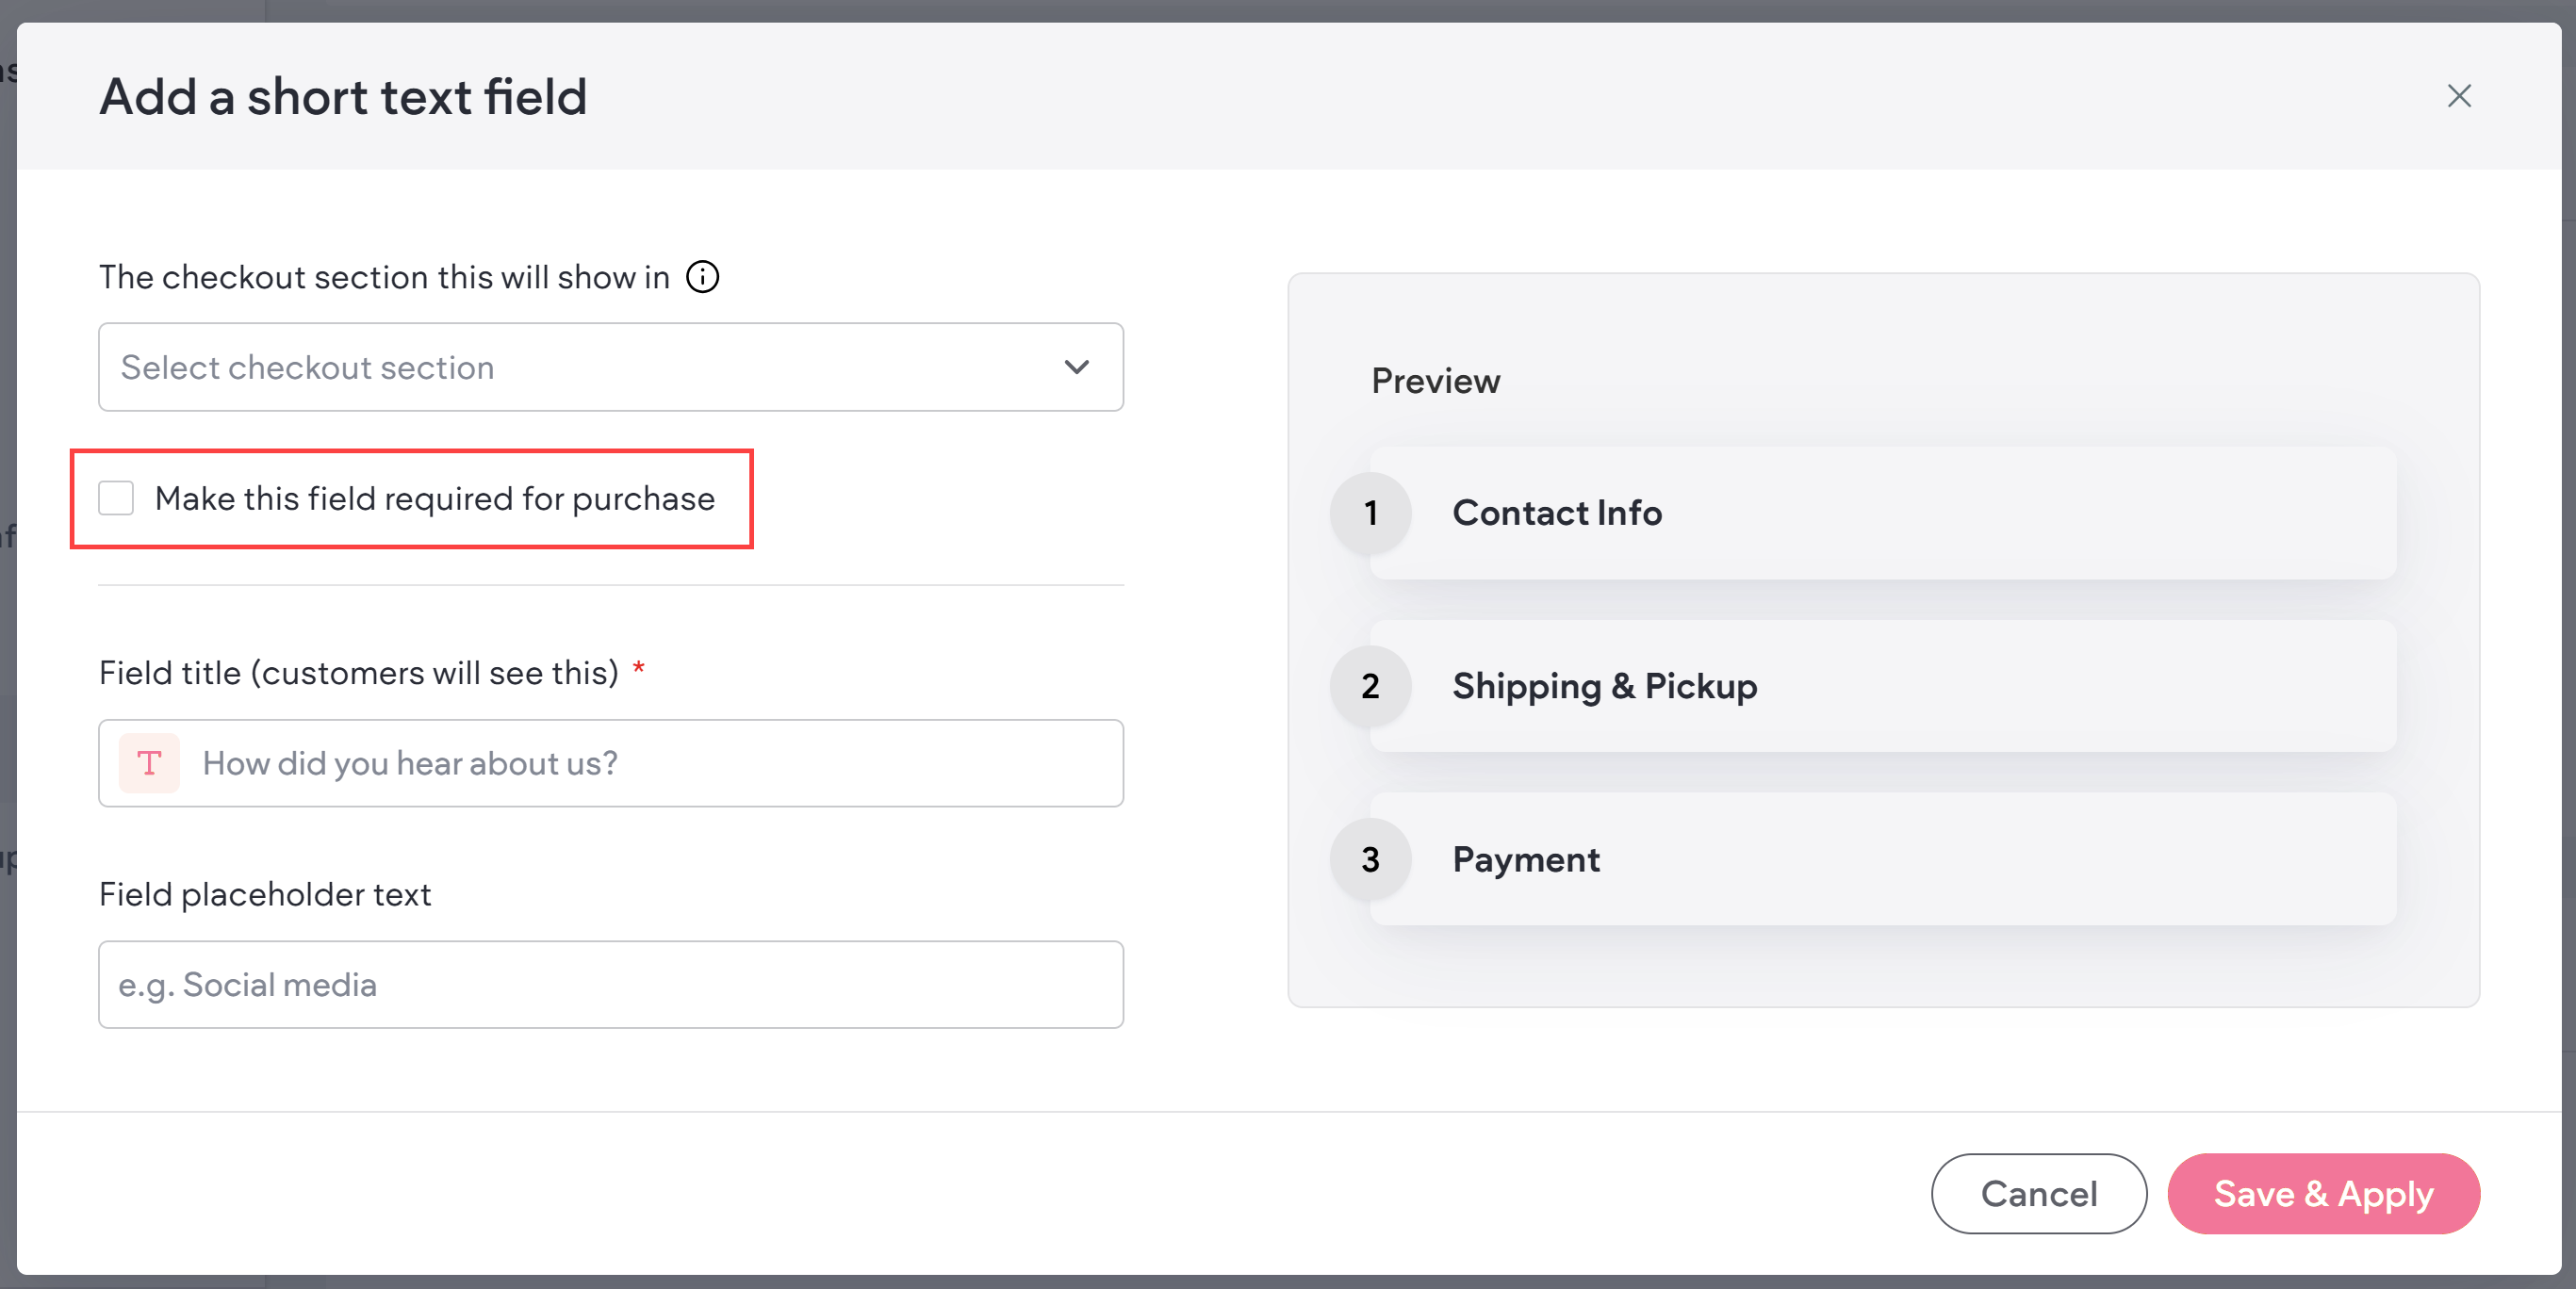
Use The checkout section this will show in dropdown menu to select which part of the checkout flow the custom field needs to appear in. Note that custom fields will appear at the end of the selected section.
-
(Optional) Select the Make this field required for purchase checkbox if you would like to make the field required.
-
Enter a Field Title. This is what displays to your shoppers on the checkout page. Note this is not available for the Checkbox field type.
-
(Optional) Enter a Field Hint to provide shoppers with an example of what to enter in the field. Note this is not available for Radio button, Checkbox, or Dropdown field types since the shopper is not entering text.
-
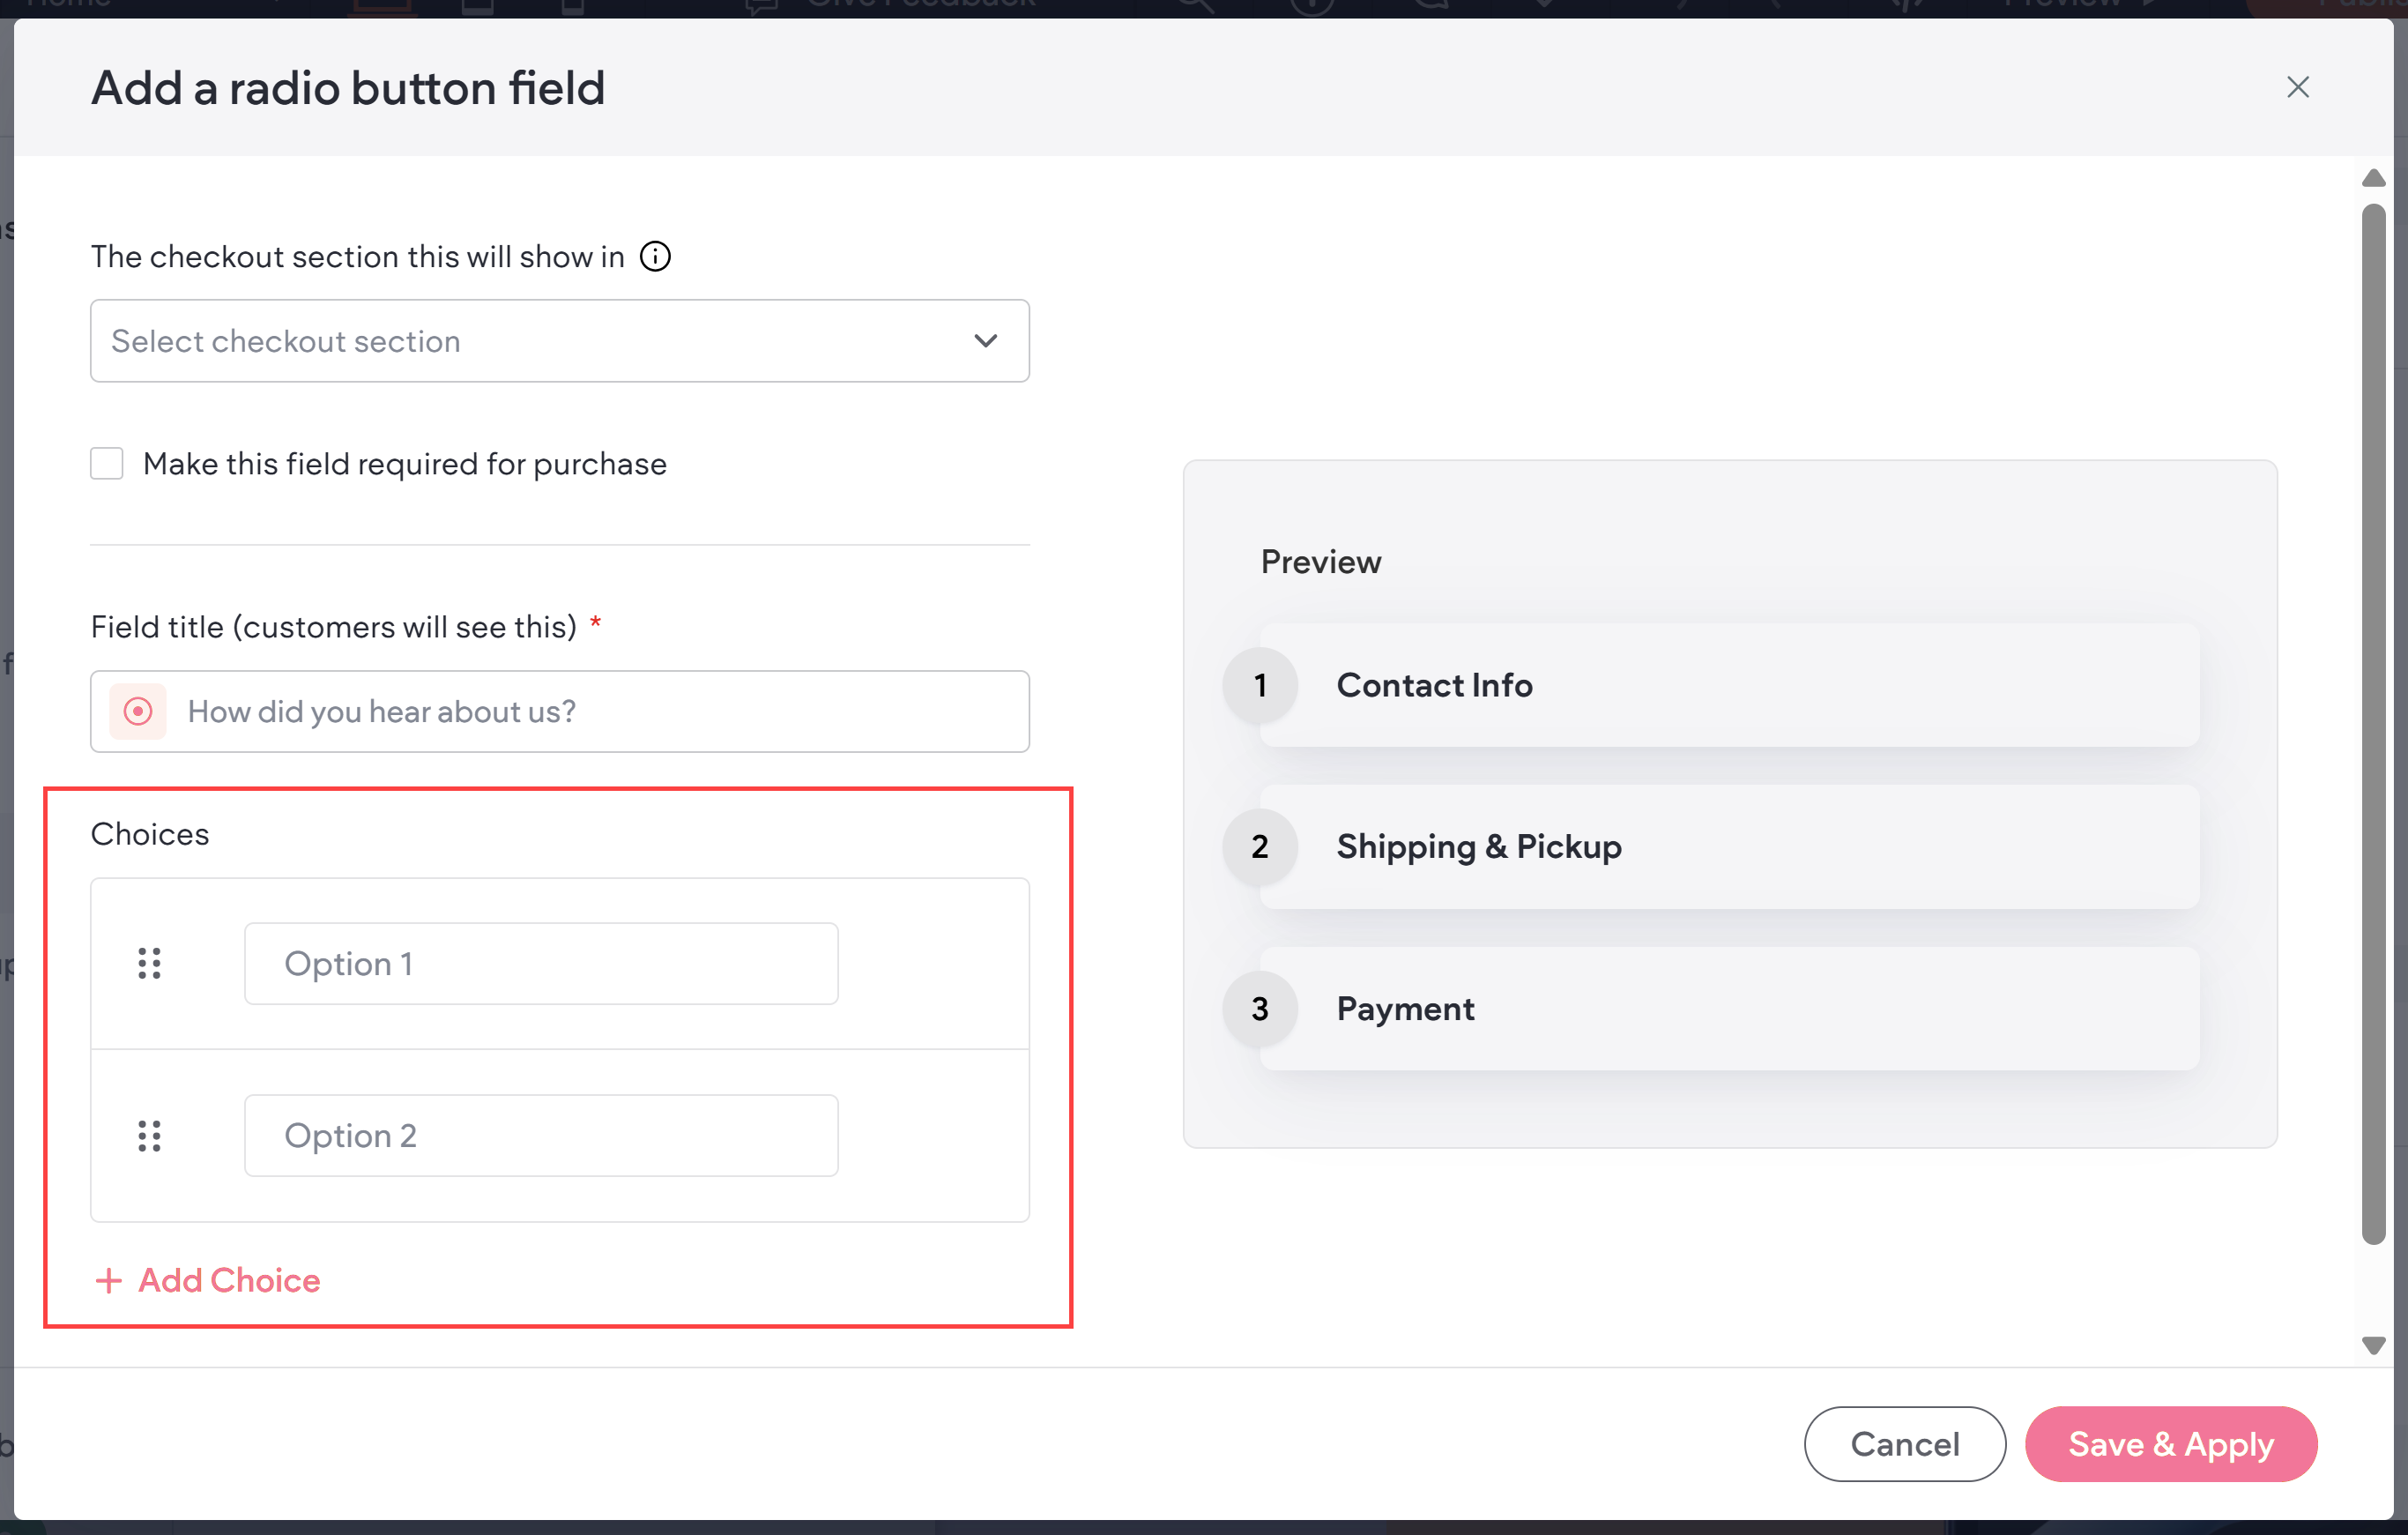
If you are using the Dropdown or Radio button field types, enter text for each choice. Click + Add Choice to add up to 5 choices. Drag and drop the choices to reorder them, and if necessary, click the trash can icon next to a choice to delete it.
-
Click Save & Apply.
Considerations
Take note of the following:
-
If the merchant makes modifications or adds a new custom field while a shopper has items in their cart, the modifications or new fields are not shown for that cart.
-
Currently, field labels and options are not translated.
-
If the shopper clears their cart, it also clears any custom field inputs that were previously entered.
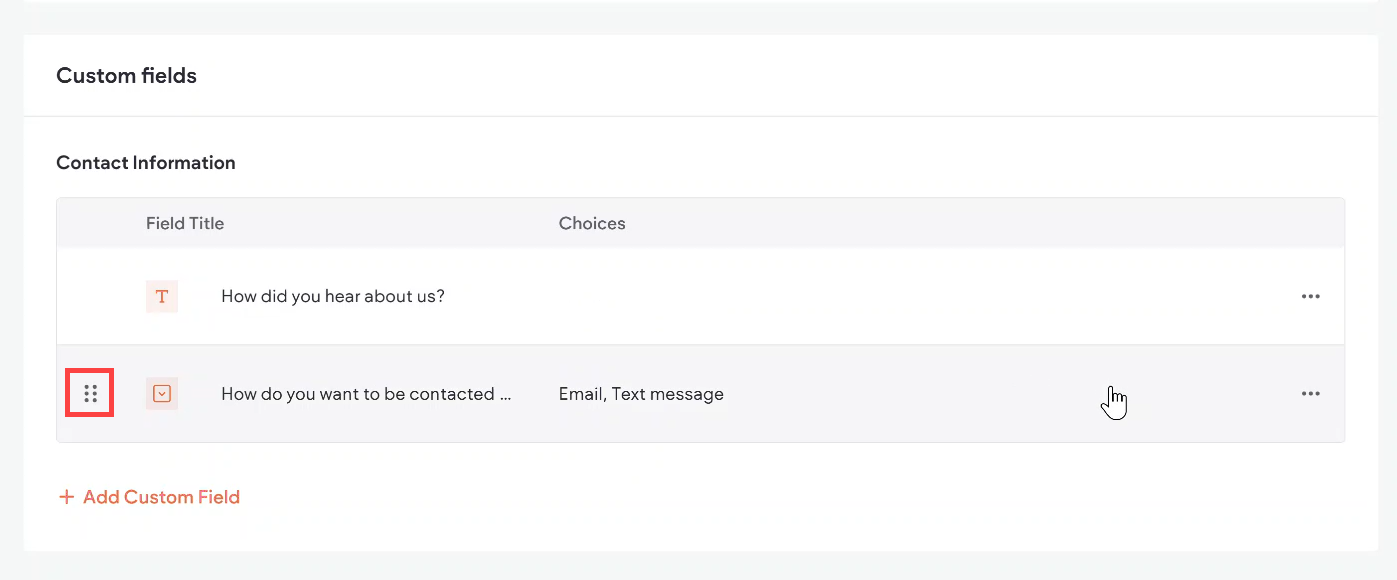
Reorder Custom Checkout Fields
By default, custom checkout fields are displayed at the end of their section in the checkout flow. This cannot be changed. However, you can reorder the custom fields that reside within the same section of the checkout flow.
To reorder custom fields, drag and drop them into the desired order within their respective section. Then click Save at the top of the page.